Introduction to a SmartThings SmartApp, Part 1
Intro
SmartThings is a great tool for home automation. The SmartThings app allows you to control many different smart devices in one place. This includes devices from many different brands. One of the more interesting things that SmartThings has is its SmartApps. With a SmartApp you can use the SmartThings API to create custom automation.
In this two-part series, we will first review setting up an example SmartApp. In part two, we will dig into the code to making your own custom SmartApp.
Prerequisites:
- A SmartThings compatible color light.
- Familiarity with APIs (Application Programming Interfaces).
- Understanding of Node.js or JavaScript.
- Samsung account.
- SmartThings Developer Workspace account. You can use your Samsung account login for the Developer Workspace.
- SmartThings mobile application, Android or iOS.
- Node.js installed.
- Npm installed.
- Ngrok installed. Ngrok will create a secure tunnel to the local node server.
Setting up the Node.js application
If you want to follow along, I have an example repository used in this article. The example repository also outlines the steps for setting up the project.
In the example repository, run npm install to install the project dependencies.
To run the application, you first have to start the Node.js application npm run start.
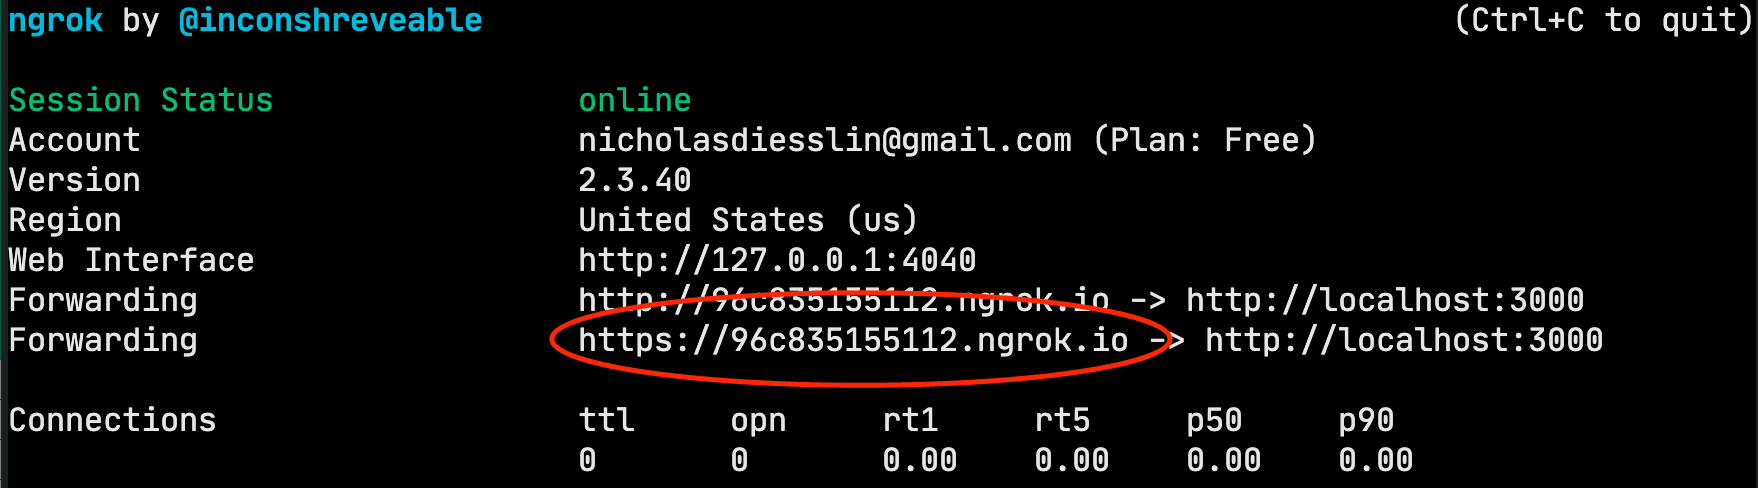
After the Node.js application is running, you need to start ngrok in another terminal tab ngrok http 3000. Ngrok makes a secure public tunnel to our application. SmartThings will interact with this URL.
Now the application is running. Next, we can create a SmartApp in the Developer Workspace.
Creating a SmartApp in the Developer Workspace
Once logged in to the Developer Workspace, there is a button to create a new project. For this tutorial, select “Automation for the SmartThings App.”

After naming the project, we need to register the app. Registering the app creates a connection to the Node.js application.
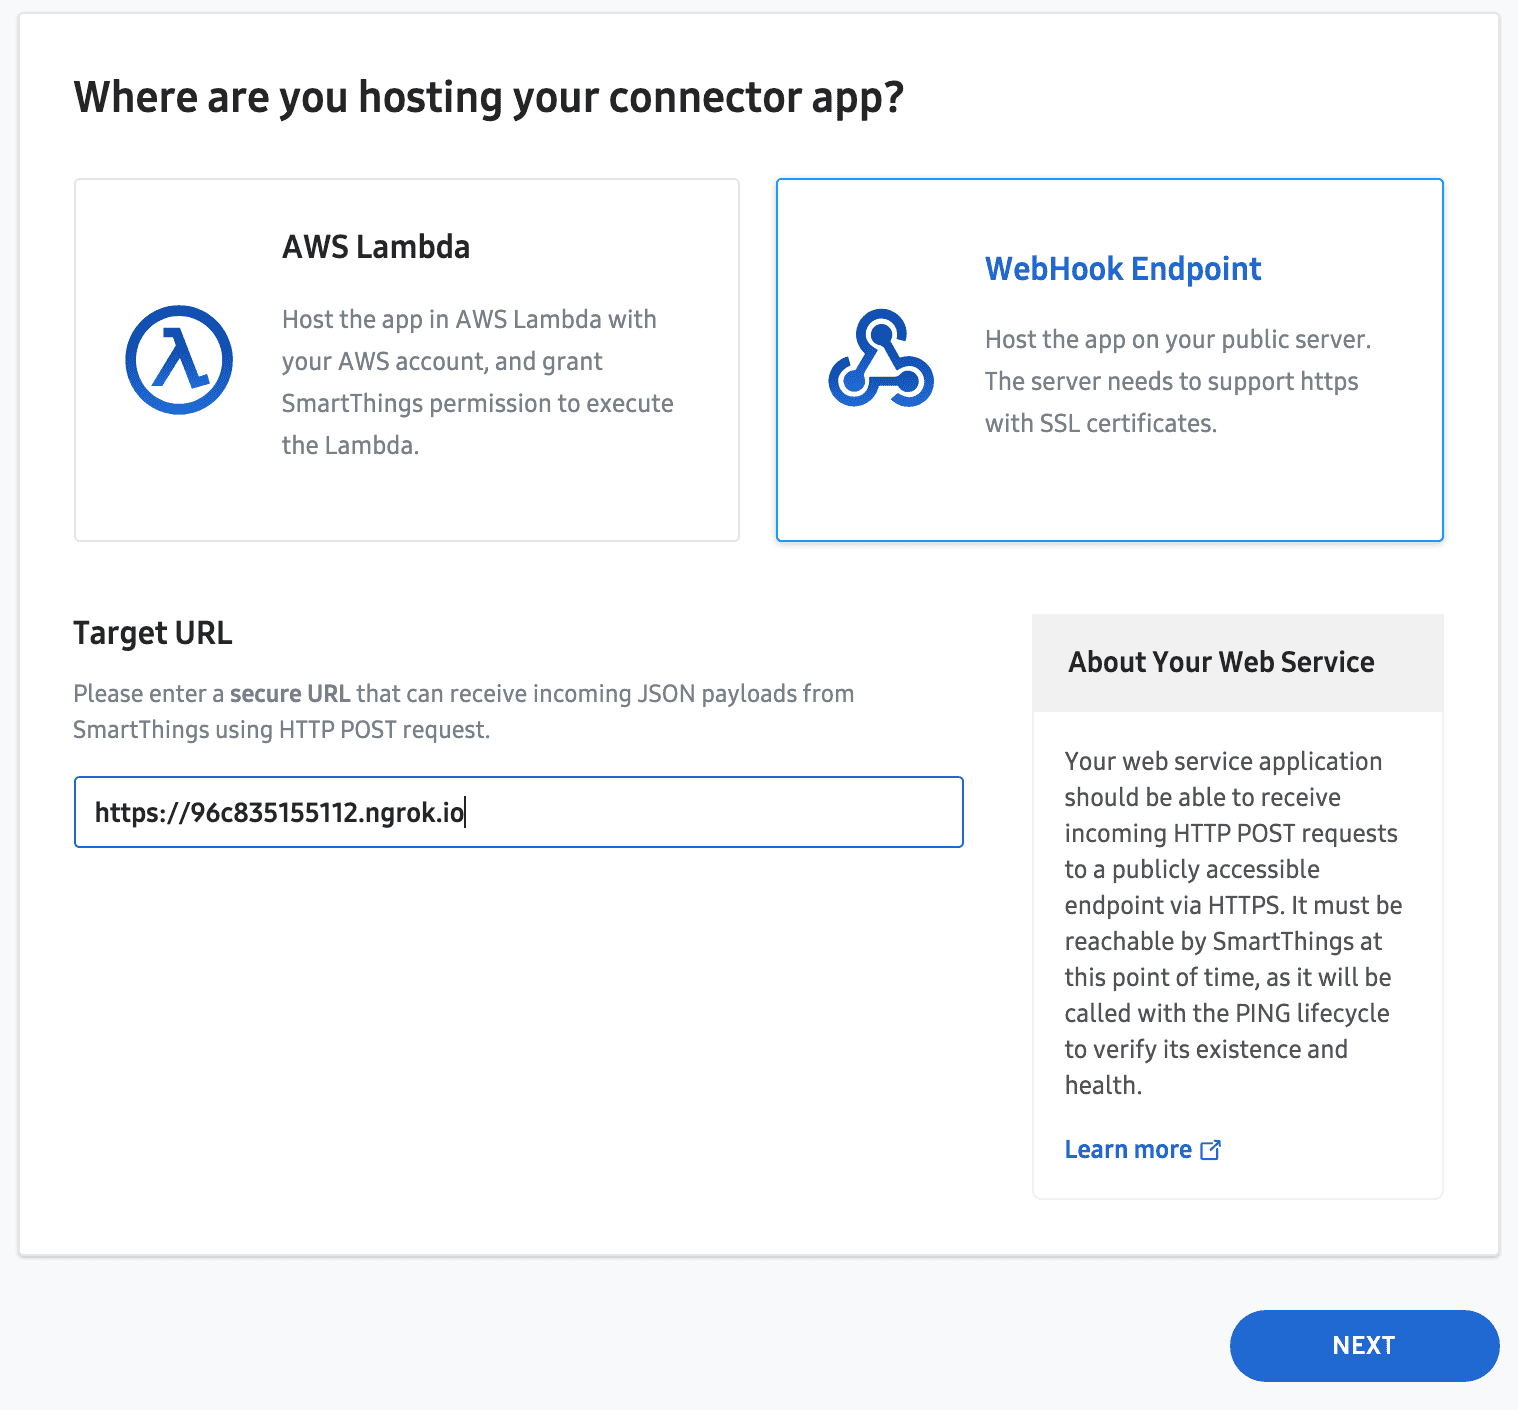
When registering the SmartApp select “WebHook Endpoint” for this application.
For the Target URL, we will provide the ngrok URL. Remember this is for testing only, after closing ngrok the URL will not be accessible again.
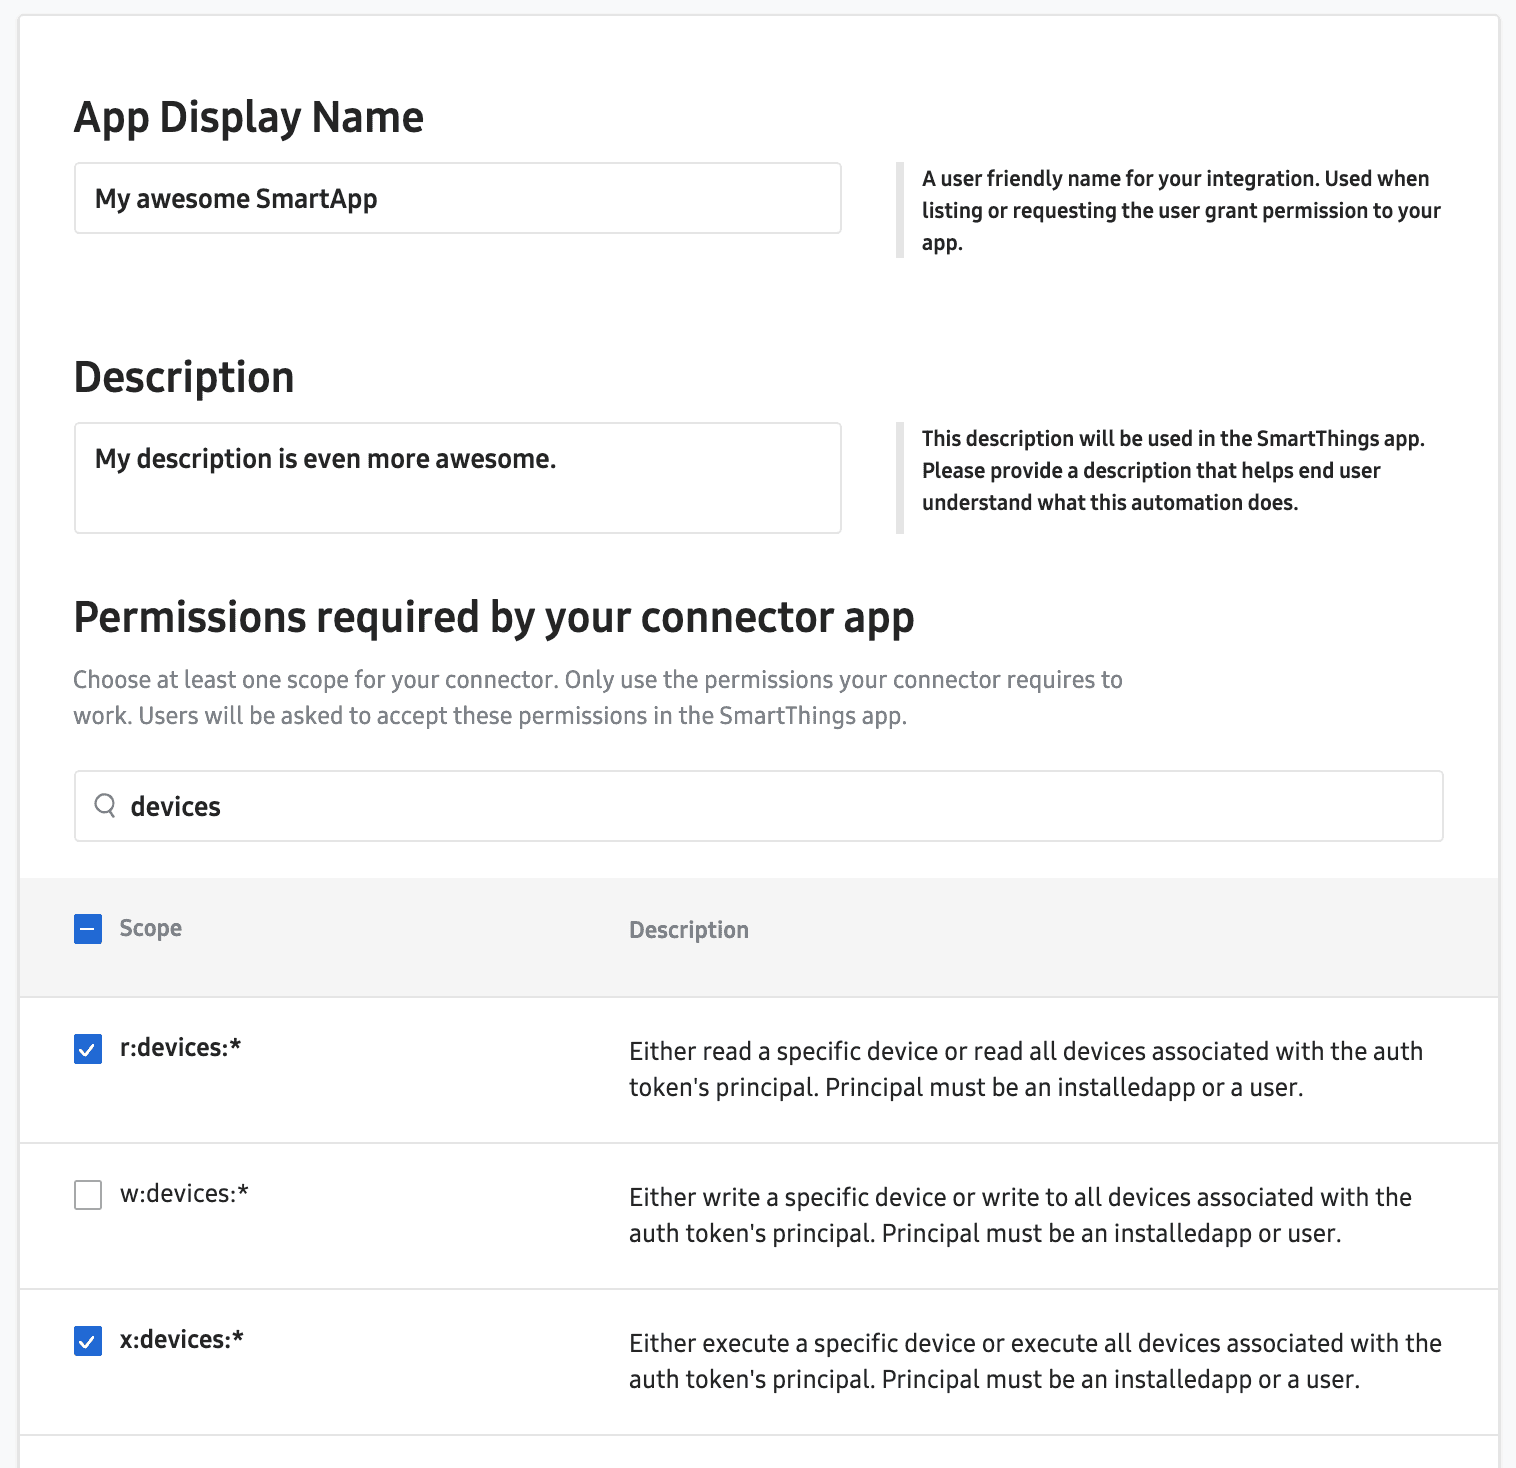
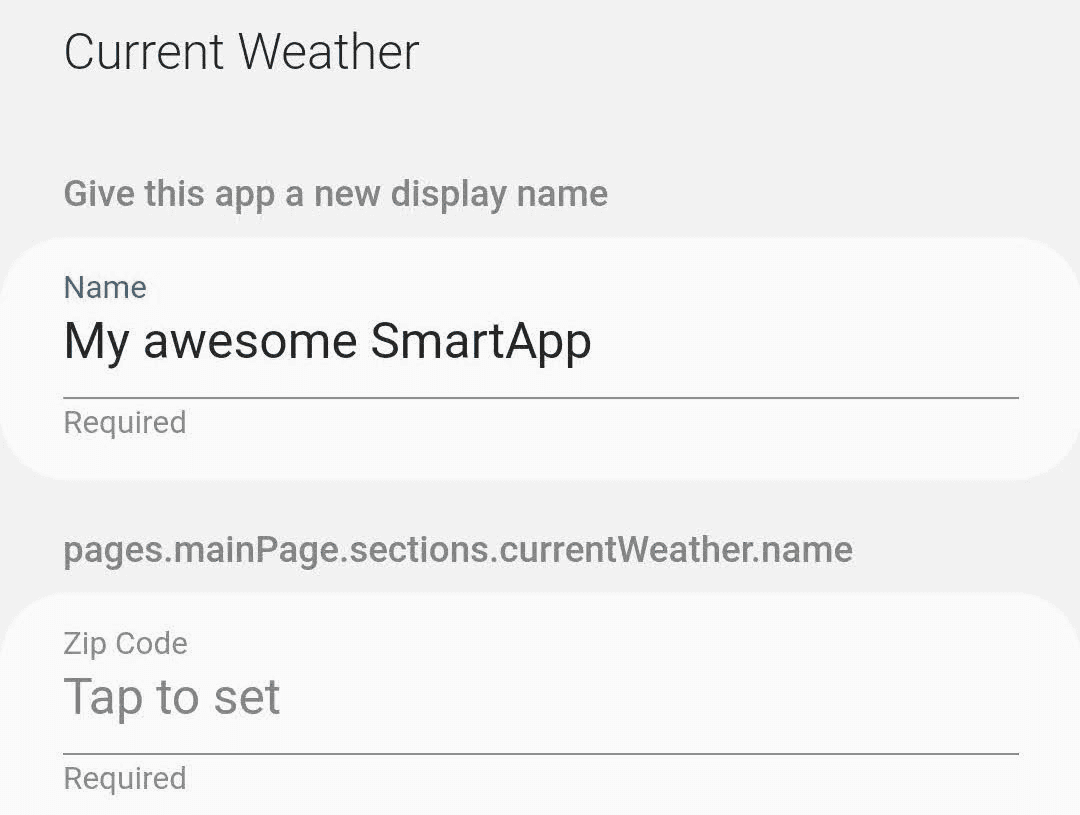
On the next screen, provide the application name and description. This is what the SmartThings application will display.
On this screen, we need to provide device read and execution permissions.
r:devices:*x:devices:*
Now save the SmartApp.
On the next screen, in the Automation Connector, there will be a link to verify your app registration. Click this link.
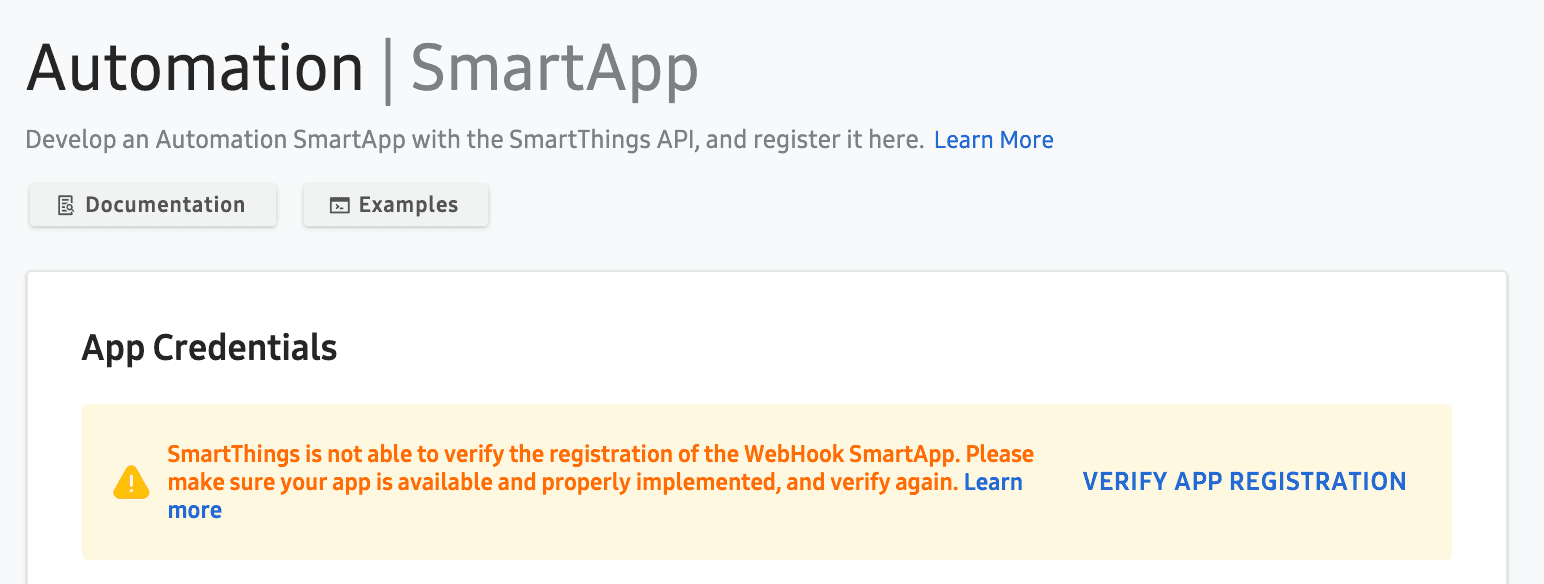
Visit the Node.js server logs and you will see a confirmation request with a link to visit to verify your app.
2021-05-21T21:05:49.453Z info: CONFIRMATION request for app e1b1a44a-4665-413c-9dfa-582713ab4944, to enable events visit https://api.smartthings.com/apps/e1b1a44a-4665-413c-9dfa-582713ab4944/confirm-registration?token=fd5ca5f6-6c7e-4877-ab25-fbfb1c31cdbfVisiting this link will verify the app.
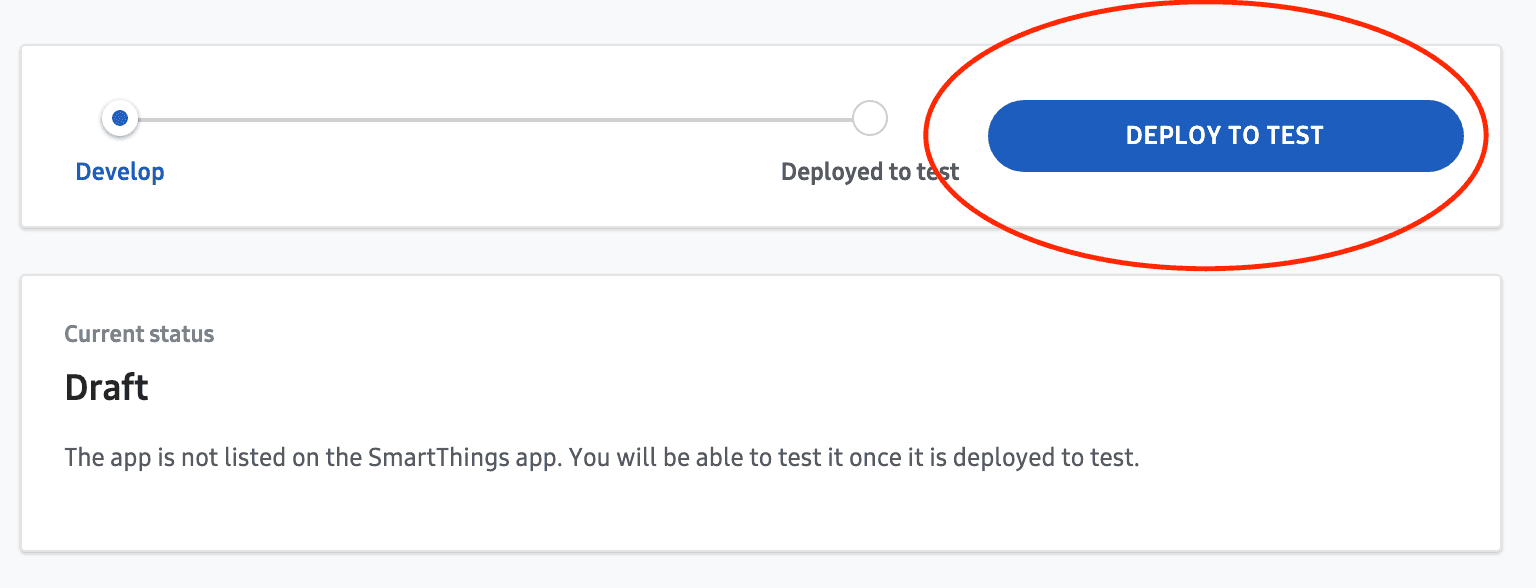
Visit the project overview page and click the “DEPLOY TO TEST” button.
This makes our SmartApp accessible in the SmartThings app. Note: this will be accessible after enabling developer mode.
Next, we will use the SmartApp to control a smart device.
Adding the SmartApp in the SmartThings app
First, in the SmartThings app, go to the settings. In the settings menu hold down “About SmartThings.” After holding around 5 seconds, enable the developer mode option.
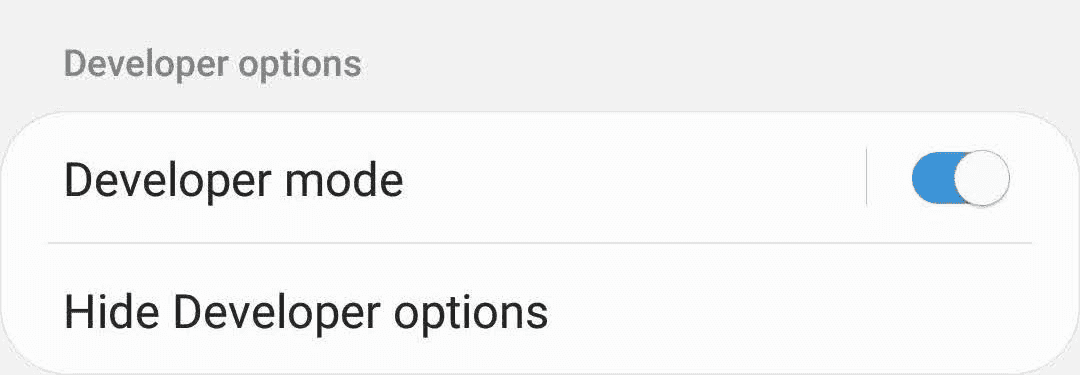
The SmartThings app will restart to enable developer mode.
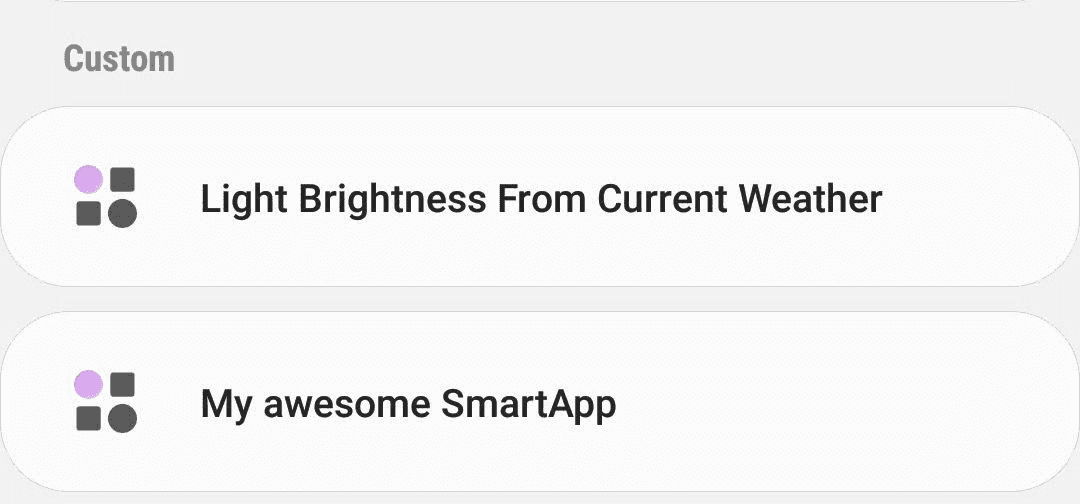
In the SmartThings menu, click SmartApp. Displayed is the screen for managing SmartApps.
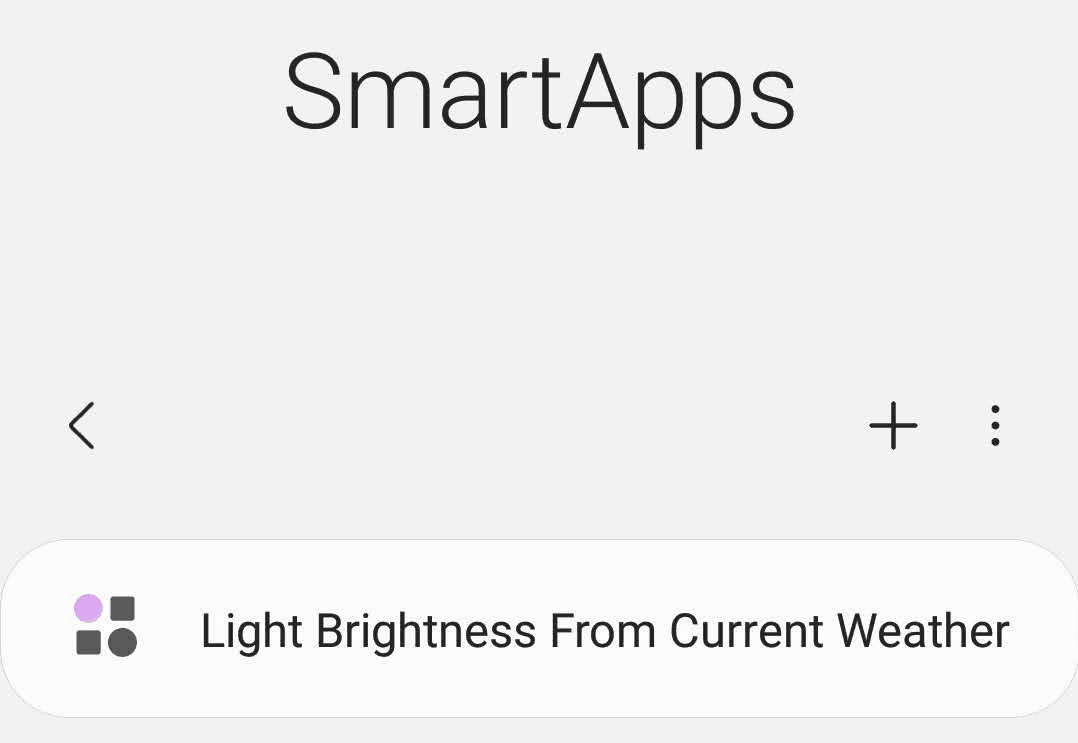
After clicking the plus sign there will be a list of SmartApps presented. The “Custom” section lists any SmartApps deployed.
The details get fetched from the Node.js application. After filling out the details and approving the SmartApp, it should start operating.
You can verify that it’s operating by checking the Node.js logs. In SmartThings, you can see the history of your smart device.

In part two, we will take a look at some of the code that makes this all happen.
Conclusion
The SmartThings API allows developers to create IoT (Internet of Things) implementations using preexisting smart devices. This API allows for quick prototyping of ideas without worrying about hardware. Developers can focus on code and the end goal. SmartThings bridges the gap of working with hardware connectivity. Have fun and make cool things!
References
About the author


Written by Nicholas Diesslin Pizza acrobat 🍕, typographer, gardener, bicyclist, juggler, senior developer, web designer, all around whittler of the web.
Follow Nick on Twitter!